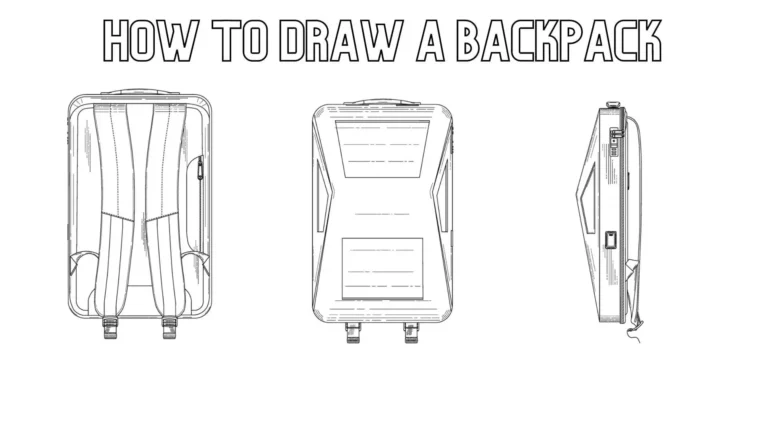
How to fix a backpack Straps: All You Need to Know
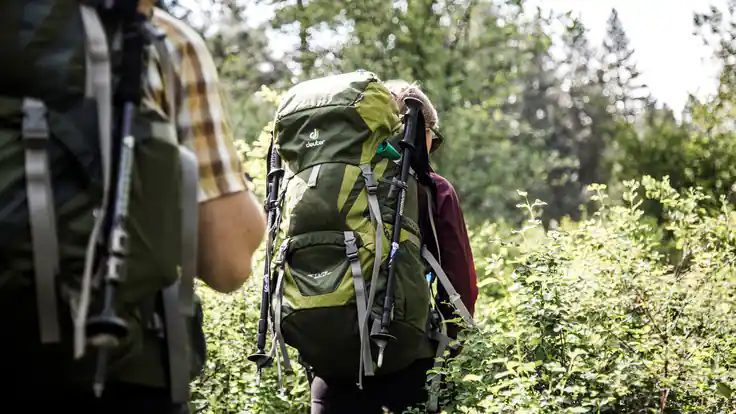
Imagine yourself having a great time with your friends and family while strolling in the woods. The trip is difficult because you are carrying a lot of supplies, such as food, camping supplies, and tents.
Additionally, since you must transport the luggage that can save lives, others are counting on you.
Your entire load suddenly swings onto your back while making a snapping noise. Looking at the backpack, you notice that the strap failed you and broke during a difficult journey.
What will you now do to transport your load throughout the journey?
Will you request help from your friends? Or are you going to take it back to the base cap to see if you can fix it there? Or third, should you attempt to repair it on your own?
The first two options might not seem feasible because your buddies may already be carrying a portion of the load, but if you have traveled too far, it will be much harder to return to the camp. Therefore, your only remaining choice is to fix the backpack strap by yourself.
It could take some time, but in the long run, it will save you a ton of hassle.
Read this article all the way through if you want to be ready for any bad event like this because we’ll show you how to adjust the backpack strap in various ways so you can travel safely and contently.
How to Fix a Backpack Straps by Sewing in 9 Steps
You should have your emergency kit prepared while in the woods, along with items like a needle, thread, and scissors, among others.
You never know what fate has in store for you or what your luck will bring, so it is a good idea to always have an emergency kit with you.
The backstitch technique will enable you to swiftly correct it. By using this method, you can avoid wasting time and money on buying a new bag for your subsequent journey.
Also, Read How to Sew Backpacks
Tools Required
The equipment you’ll need to replace the damaged backpack strap is listed below.
- Needle
- A yard or two of Nylon upholstery thread
- A piece of nylon cloth 2-5 inches long
- Scissors
How to fix a backpack strap
STEP 1
You must first remove all the kit and caboodle from the bag. The backpack must now be held in a manner that feels comfortable to you. Adjust the backpack straps as necessary. You can also remove the framing sheet for optimal results.
STEP 2
Secure the two ends of the nylon thread by inserting it into the needle. By doing this, you may be sure that the needle won’t budge when it’s time to stitch the strap. Once you’re done, trim the extra thread. Now take out any loose threads or seams from the shoulder strap of the bag.
STEP 3
Next, align the edge of the nylon fabric with the bag strap by folding it firmly over. It will act as a covering that safeguards the ends of the pack strap. Keep in mind that two of the edges of this cloth strip must be parallel to the strap.
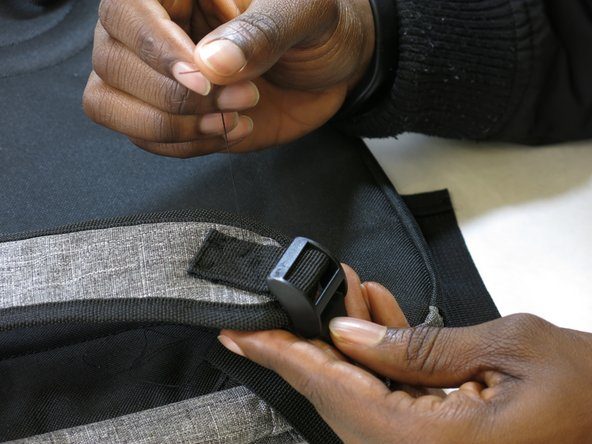
STEP 4
Use a needle to begin sewing right now. When you begin stitching, pay attention to the nylon fabric and strap edges because they both need to be properly aligned. Remember that when stitching, the nylon thread needs to pass through the strap and the fabric. Additionally, be cautious not to stitch too closely to the edge; otherwise, your efforts may be in vain as the garment may come off.
STEP 5
You should properly close the seam once you have finished sewing the straps and fabric’s edges together so that it won’t rip off again. Many people have developed multiple techniques for securing the stitch.
Pushing the needle halfway is, however, the simplest option. Wrap the fabric around the needle’s point as you push it halfway through the fabric, then pull it to create a stitch. For a more solid closure of the stitches, repeat this procedure two or three times.
It’s time to reattach the strap to the backpack after the nylon fabric repair has been completed.
STEP 6
Replace the thread if it is short if you still have it in the needle. Remember that longer threads cause more tangling and make seamless stitching more challenging.
STEP 7
First, line up the torn area of the backpack with the strap. If it is a shoulder component, level it with the shoulder or the lower portion of the shoulder strap, then arrange it where it will fit most comfortably.
STEP 8
The strap should now be kept in a single location that is parallel to the bag. Continue applying pressure to the strap after that and begin stitching it. The experienced explorers advise adopting the backstitch technique among the various stitch styles. The backpack strap can be repaired by backstitching because it is a highly safe and effective method.
STEP 9
Once the backpack strap stitching is complete, you must once more secure the stitches. As previously mentioned, you can pull the needle halfway and loop the thread around it at this point. Then, pull the needle, and the stitches will lock in place. To fully secure it, repeat this process a few times.
Once you’ve finished, trim any ends that are frayed or loose around the edges to protect your backpack from additional harm. The first method for fixing a backpack strap is this one.
Cut the thread after the stitches are complete. To ensure that the strap is safe and tight, check the sides of the strap for any frayed or loose thread.
You see, this was the original technique for fixing the strap; if you don’t have access to thread and a needle, use the techniques listed below.
Also, Read How to Put Patches on a Backpack
Bottom Line
Here are some instructions for replacing a damaged backpack strap on your own using the most basic tools.
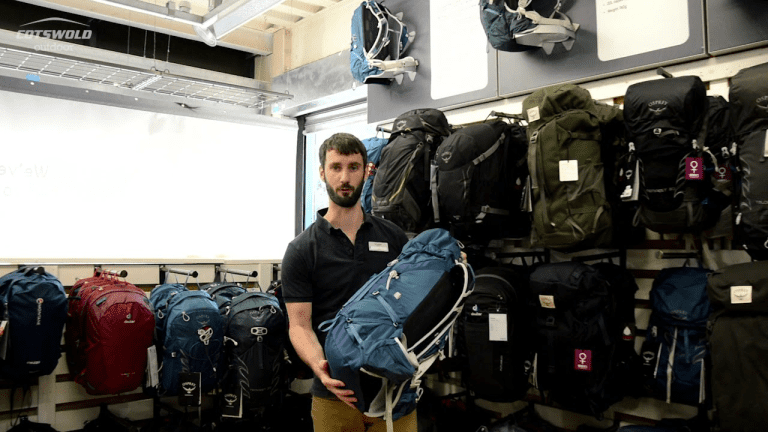
However, before purchasing a backpack, you must make a good choice to avoid these problems.
Considering the durability and room you require for your items can help you get the most out of your backpack straps.
Although nothing lasts forever, choosing your bag properly and treating it gently will prolong its life.