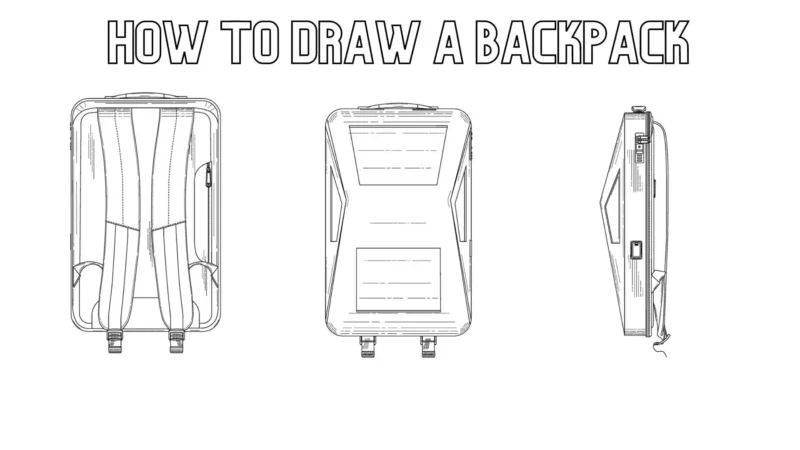
How to Draw a Backpack in 3 Perfect Steps
This post shows how to draw various unique and fascinating objects. Now, we’ll demonstrate how to draw a backpack in 3 perfect steps.
Of course, there are a wide variety of bag types and formats. Some alternatives appear, like leather briefcases and those resembling bags with straps.
Is it time for school in your area? Many kids enjoy going “back to school shopping” this time of year, getting new clothes and school supplies. One of these is frequently a convenient backpack.
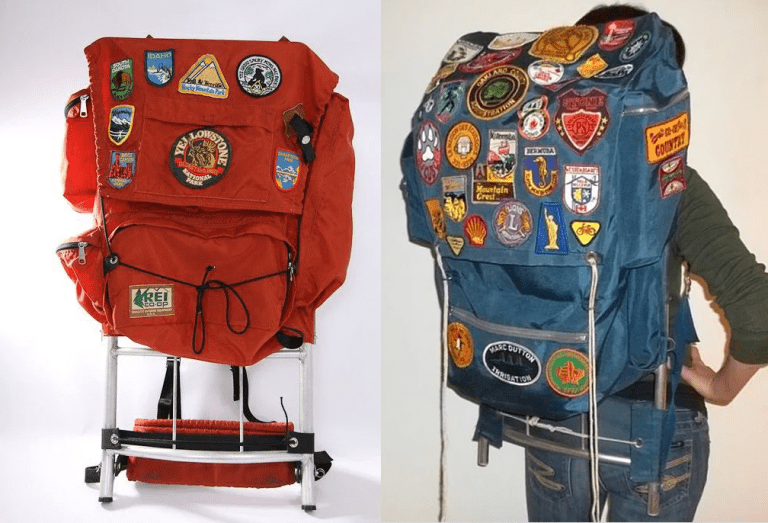
Backpacks are cloth satchels or bags with two straps that cross over the shoulders. They are also known as knapsacks, rucksacks, kitbags, bookbags, school bags, or packs.
Backpacks are frequently associated with schoolchildren, although they are also used by hikers, soldiers, businesspeople who carry laptops, and tourists. Backpacking is a common term for long-distance backcountry hiking for leisure.
Most of the time, however, it is the opposite; several backpacks are decorated with cartoon characters in vivid colors. Some manufacturers offer “2-D” backpacks that resemble cartoon characters.
Would you like to sketch your school bag? With this straightforward, step-by-step drawing instruction, you can now.
A pencil, a piece of paper, and an eraser are all you’ll need. You could also opt to color your finished drawing.
Here, we wish to demonstrate the backpack style travelers and students most commonly wear. You may draw a great backpack by just following the easy steps.
Practical Advice for Drawing a Backpack
A competent artist maintains a high level of awareness while painting. He constantly aspires to produce a masterpiece. He attends to every small detail that could improve his work.
Therefore, to become a good artist, you must have passion and focus and adhere to the following advice.
You can draw anything with the help of these useful suggestions, not just backpacks.
- Be orderly and tidy.
- Avoid repeatedly deleting.
- Stay calm, and don’t rush.
- Always use a methodical strategy
- Always be original.
How to Draw a Backpack (Nedded Kit)

You should have a list of the materials needed for backpack drawing. Since this is a straightforward sketch, you only need a few essential items.
- Pencils
- Drawing Sheets
- Sharpener
- Eraser
- Colours
- Black marker (not compulsory)
Drawing a backpack takes 20 minutes of your undivided concentration, so the time commitment is minimal.
How to Draw a Backpack in 3 Perfect Steps
Step 1: Create a sketch of the backpack
Let’s start by drawing a quick sketch to establish the basic contours of our concept. Use a media that may be quickly erased or covered up when sketching, such as a pencil.
Draw the Basic Shape
Starting with a curved line or an arch, sketch the front contour. We made our form flat at the bottom with the right slightly lower to create an angled appearance.
Repeat the initial sketch’s shape and give the backpack more depth next. The second sketch should be positioned higher and more to the right. Then, draw an angled line connecting it to the first sketch.
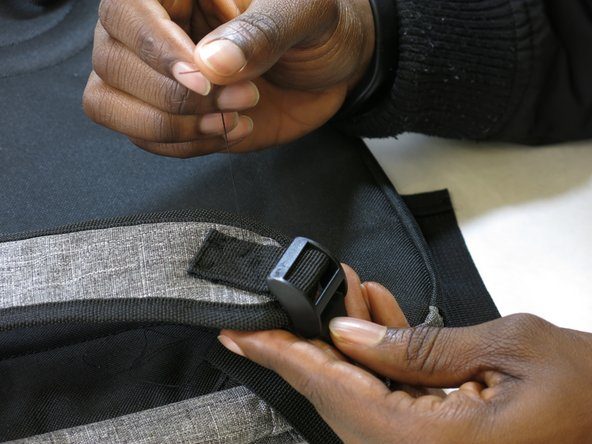
Draw the Straps and Details for the Backpack
Let’s begin by rough sketching a grab handle as a horseshoe on your backpack once the basic shape is finished. Next, mark the locations of your front and side pockets using lines.
The shoulder straps on the back of your bag should be pulled in. Look at our illustration below; the shoulder strap is closer to us. Only the top of the back shoulder strap is visible. The shoulder straps are shaped like mug handles and are broader at the top and narrower at the bottom.
Finally, draw the fundamental lines for the details. Draw a line almost halfway down for the visible shoulder strap.
Draw a line next to the main zippered compartment. Put this in the center of the backpack’s side view.
Additionally, you can include other elements like a name box or extra pockets.
Step 2: Draw a rough outline of your backpack
The crude sketch should now be outlined with a permanent medium, such as a marker or pen. Keep a keen eye out for any overlapping lines you want to avoid including when you outline. When you’re finished, take away the preliminary sketches.
Step 3 – Add Details to Your Backpack
We will add the last few finishing touches in this phase to give our backpack some personality. To add buttons and stitch details, use a marker or pen.
Your preferred colors in various tones should be used to fill in the shapes. To add depth to the sketch, we chose three different hues of pink as our preferred color.
Then, using a texture brush, we added white.
Bottom Line

Having read this, I hope you had a great time reading this and have learned how to draw a backpack.
You are now extremely familiar with the backpack drawing. Your level of effort on the sheet is entirely up to you now.
Using colors, art supplies, and additional details will improve your drawing skills. Drawing is a fun and worthwhile way to pass the time.
Continue to sketch your pages, and check our website for simple drawing instructions.